 Bilal Siddiqui
Key takeaways
Keyword research is a sorting job, not a collecting job. The goal is a structured keyword map, not the longest possible list.
Define product intent first. Write your buyer promise, use-cases and audiences before you open a tool, so you collect relevant data and avoid category drift.
Collect from several sources. Competitor ASINs (reverse ASIN lookup), Amazon autocomplete, category filters, customer reviews and your own packaging all feed the list.
Clean with strict hygiene. De-duplicate, normalise variants, and cut risky terms that imply claims you can't support.
Cluster by intent, then prioritise. Group terms by the buyer's goal, split browse from ready-to-buy, and score each cluster on relevance, conversion likelihood and risk.
The map has three buckets: primary, secondary and backend. Each keyword earns one home, and you only need to index a term once.
Common tools do the heavy lifting: Jungle Scout, Helium 10 and DataDive. We use Helium 10 as the example here, but the process is identical whichever you pick.
Most sellers don't have a keyword problem. They have a keyword pile: a spreadsheet of 300 terms scraped from a tool, with no idea which ones matter and no plan for where any of them go. The listing ends up stuffed with whatever looked relevant, indexed for a handful of terms nobody searches, and invisible for the ones that would actually sell.
Proper Amazon keyword research fixes that. It isn't about collecting the most keywords; it's about finding the right ones and organising them into a map that tells you exactly what to target. And it matters more here than almost anywhere, because Amazon is where buying starts: most product searches now begin on Amazon rather than Google, and shoppers type in exactly what they're ready to buy.
This guide walks through a repeatable process: mining competitor ASINs, finding long-tail terms, validating the list, and building a primary, secondary and backend map. To keep it concrete, we'll run one real product through every step: David's Protein Bar (ASIN B0FPLSF6RX), competing in one of Amazon's most crowded categories.
What Is Amazon Keyword Research?
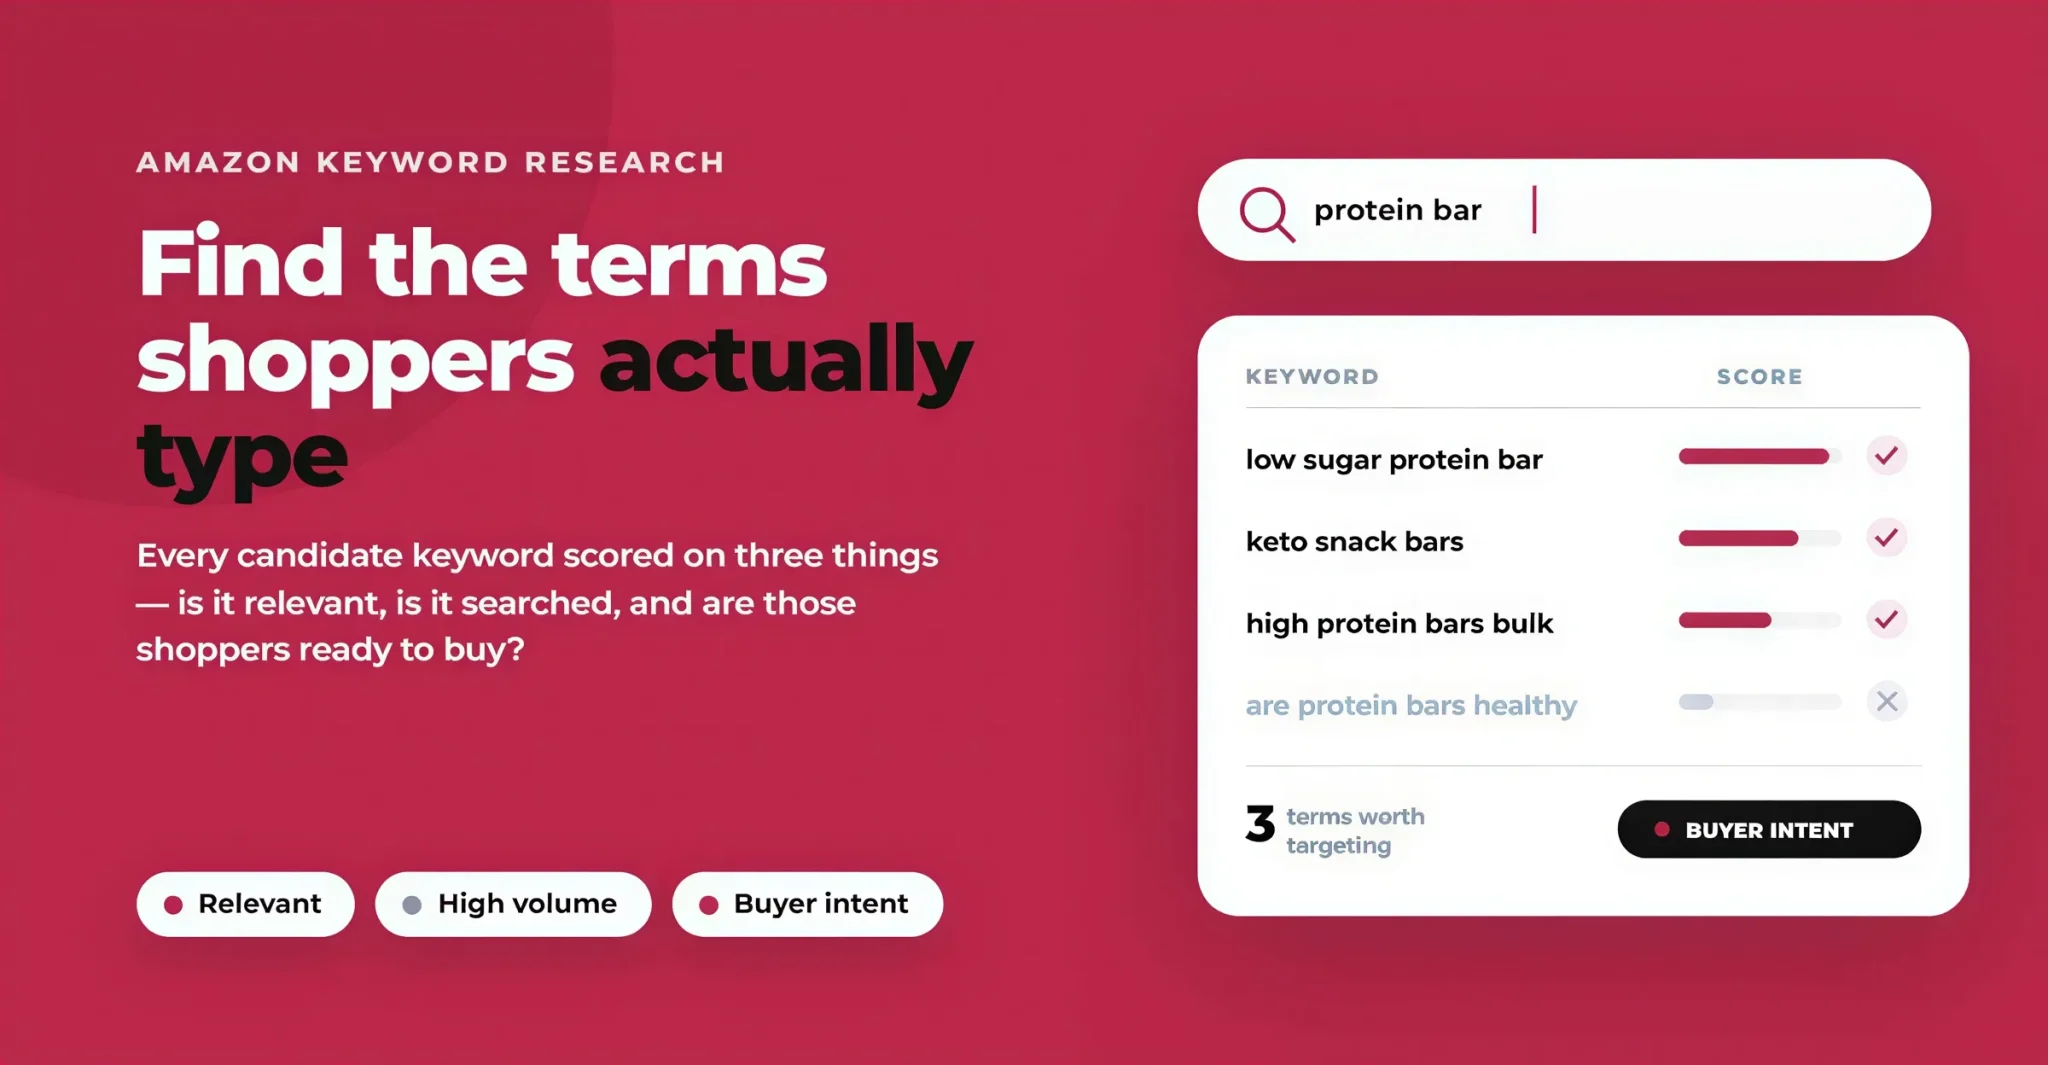
Amazon keyword research is the process of finding the search terms real shoppers use to find products like yours, then judging which ones are worth targeting. It answers three questions for every term: Is it relevant? Do people actually search for it? And are those people ready to buy?
The intent is different from Google. On Amazon a search is almost always a shopping action: someone typing "low sugar protein bar" isn't researching, they're picking. So you prioritise commercial, product-defining terms over informational ones. And because Amazon can only rank you for terms you've connected your listing to, this research sits upstream of everything else in your Amazon SEO strategy: it decides which searches you show up for at all.
Several tools make this practical. The most common are Jungle Scout, Helium 10 and DataDive. Each pulls real Amazon search data, competitor keywords and volumes, so you work from numbers rather than guesses. They overlap heavily, so the choice comes down to preference and budget. Throughout this guide we use Helium 10 as our example and name its exact sections, but the same steps apply whichever tool you choose.
The Process at a Glance
The system is five steps. Here's what each one does and the Helium 10 section that handles it.
Step | What you do | Helium 10 section |
|---|---|---|
1. Define intent | Lock your buyer promise, use-cases and category | None (strategy) |
2. Mine competitors | Pull rivals' keywords with a reverse ASIN lookup | Cerebro |
3. Collect other sources | Long-tail, autocomplete, filters, reviews, packaging | Magnet + Amazon autocomplete |
4. Clean & validate | De-duplicate, normalise, cut risky and irrelevant terms | Keyword Processor + Misspellinator |
5. Cluster, prioritise & map | Group by intent, score, sort into buckets | Keyword Manager |
Step 1: Define Your Product Intent First
The Buyer Promise, Use-Cases and Audiences
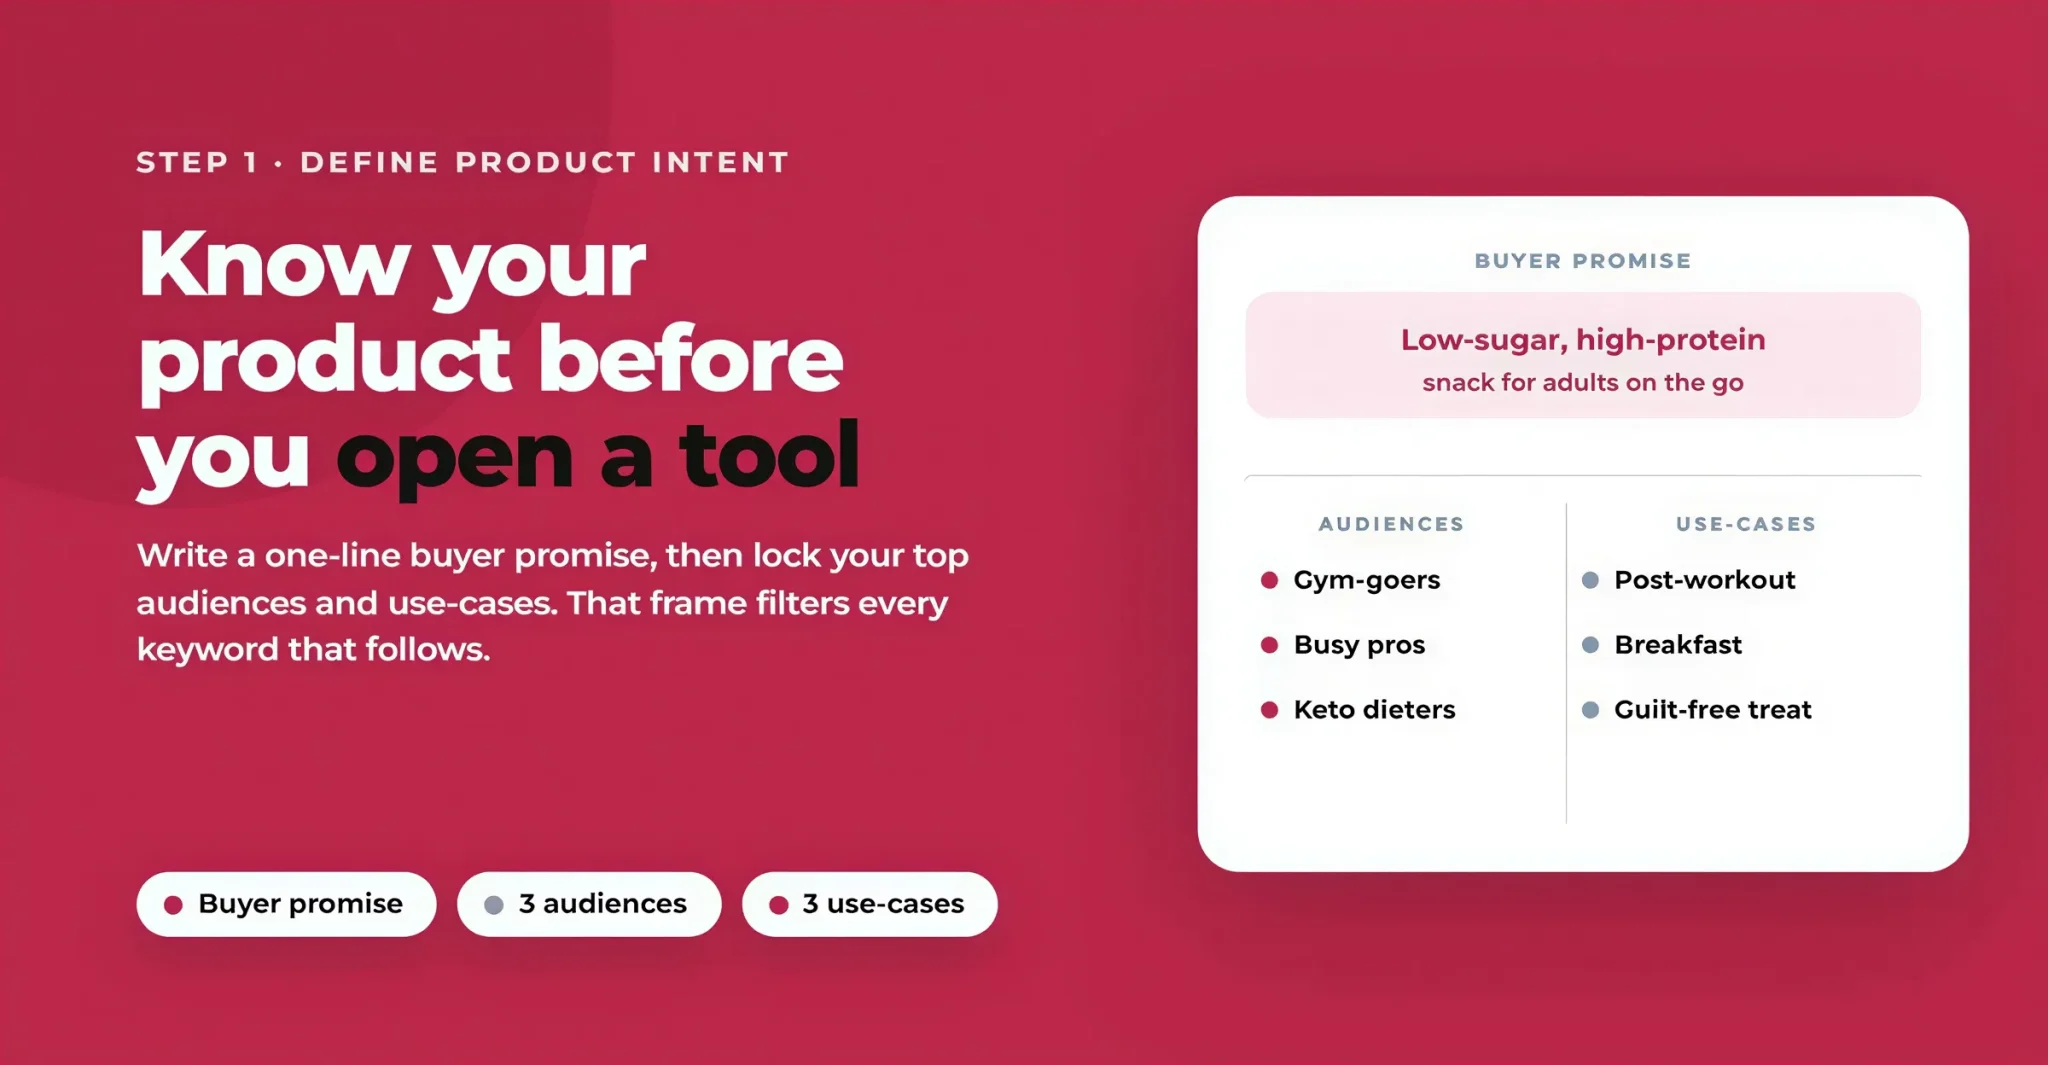
Before you open any tool, understand your product deeply, or you'll collect irrelevant data. Do three things. Write your buyer promise in one line, the exact problem you solve, which becomes the filter every keyword must pass. List your top three use-cases and top three audiences, because the same product sells to different buyers for different reasons. And lock the category context so your research doesn't drift into adjacent terms that will never convert.
David in Practice
David's buyer promise is a low-sugar, high-protein snack for adults on the go. Its audiences are gym-goers, busy professionals and low-carb or keto dieters; its use-cases are post-workout, breakfast replacement and a guilt-free treat. That single frame is what later tells you keto snacks belongs on the list and cake does not.
Step 2: Mine Competitor ASINs (Reverse ASIN Lookup)
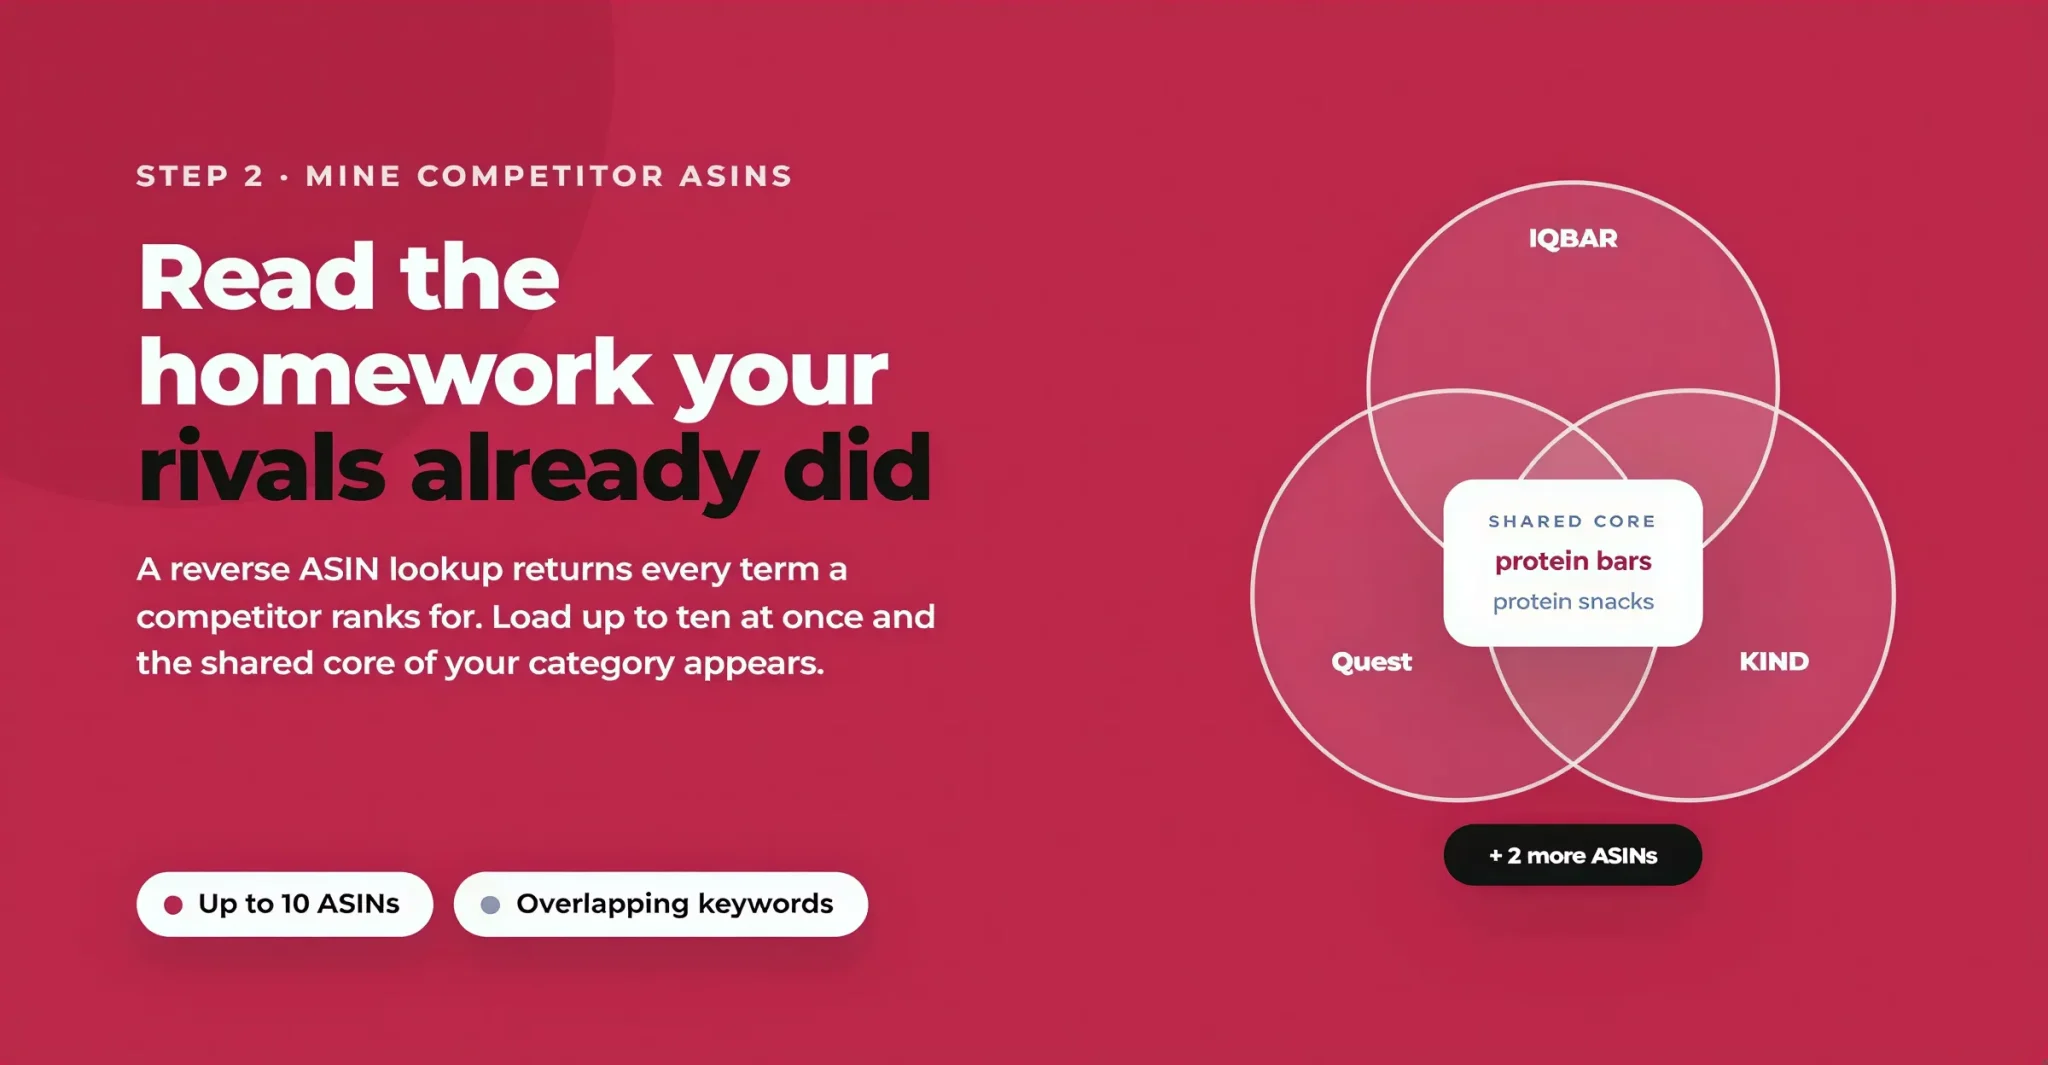
The fastest way to find your keyword universe is to look at what's already winning. Your best competitors have spent months teaching Amazon which terms their products belong to, and a reverse ASIN lookup lets you read that homework. In Helium 10 the tool is Cerebro: paste in a competitor's ASIN and it returns every keyword that product ranks and advertises for, with volumes. Its best feature is that you can enter up to 10 ASINs at once and see the overlapping keywords side by side, showing the shared core of your category in a single view.
The discipline is choosing the right competitors: three to five products genuinely similar in type, price and buyer, not the category giants. Then filter for terms multiple competitors rank for, above a minimum search volume, to surface your non-negotiables.
David's Competitors in Cerebro
Load David's rivals (IQBAR, Quest, KIND, Pure Protein and Barebells) into Cerebro and the shared core appears at once: protein bars, protein snacks, gluten free snacks and keto snacks. Competitor-brand terms like quest protein bar surface too, but those are PPC targets, not listing keywords.
Step 3: Find Long-Tail Keywords
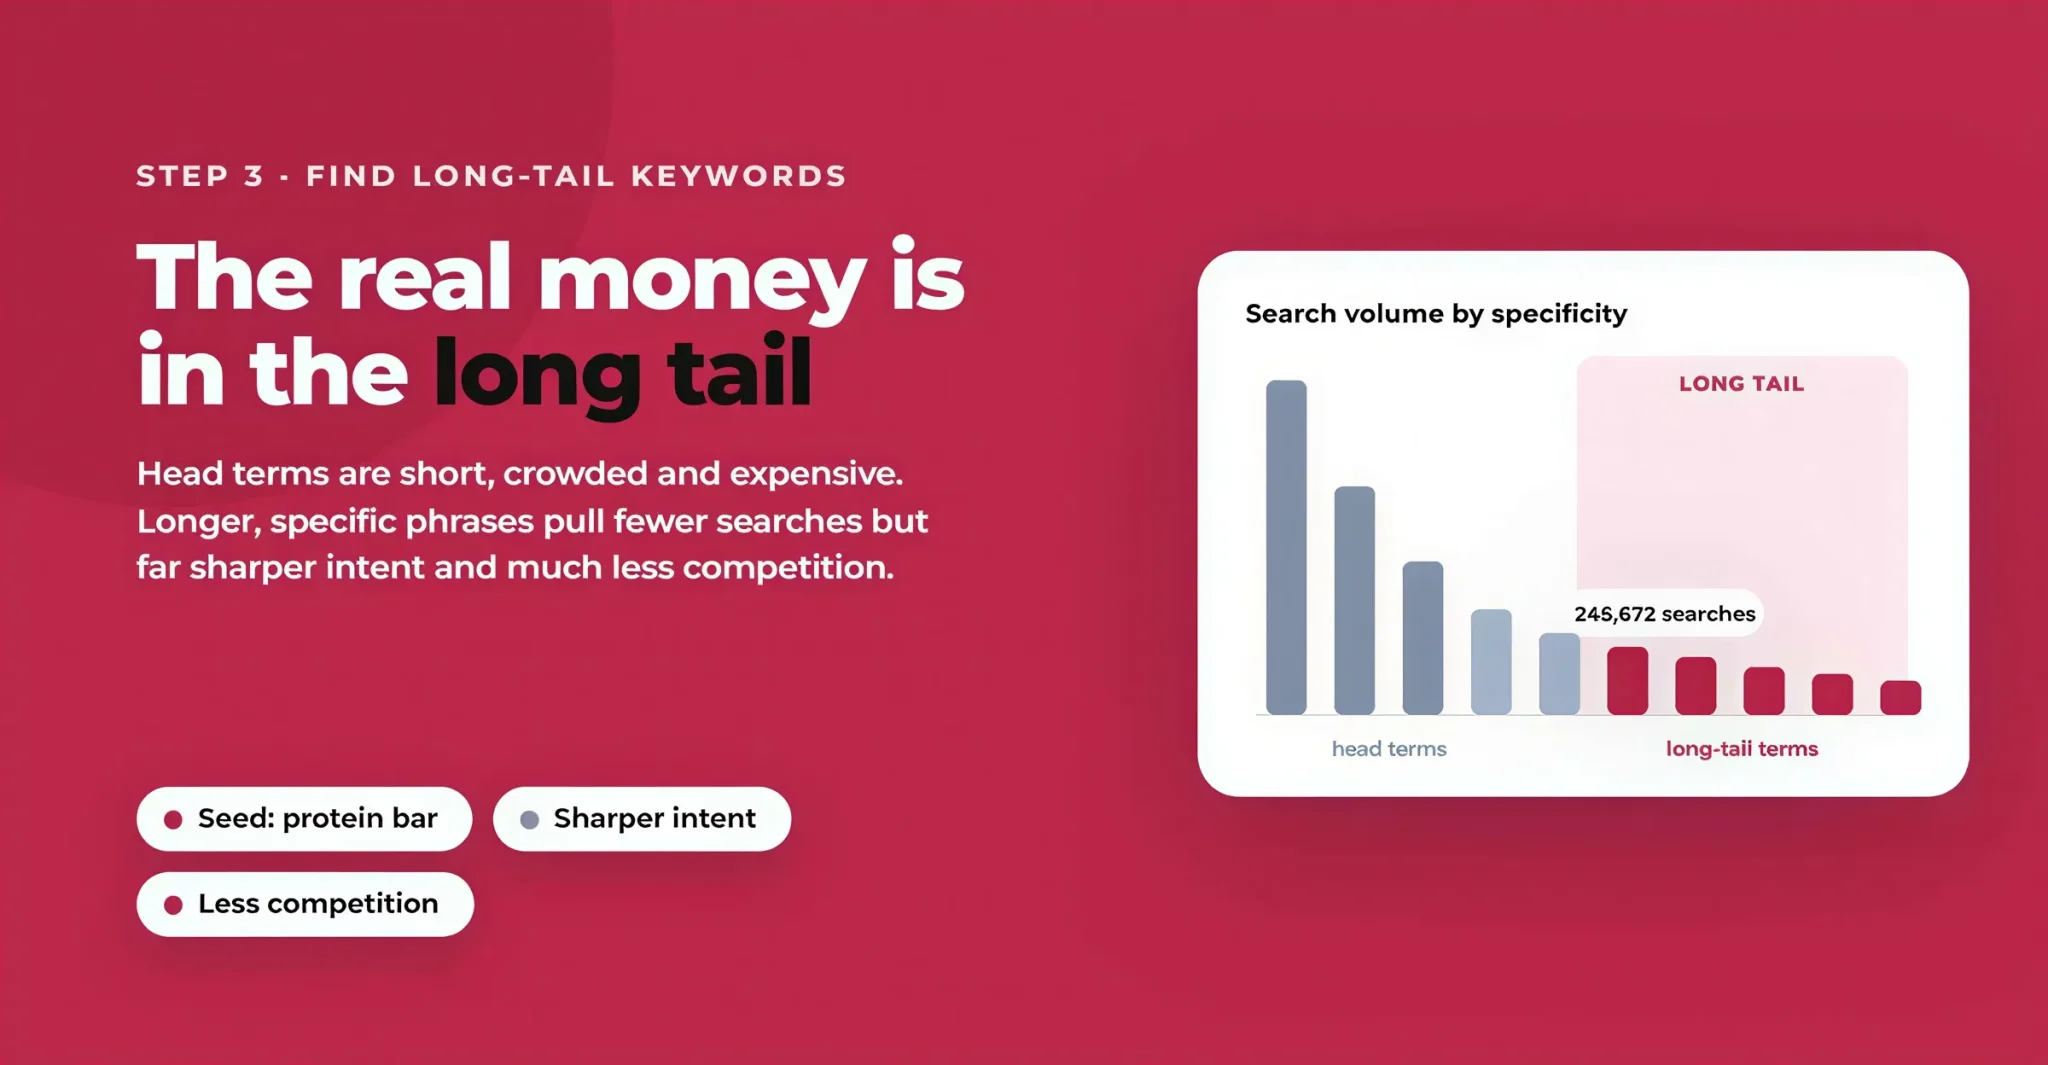
Competitor mining gives you the head terms: short, high-volume, crowded and expensive. The real opportunity for most sellers is the long tail, longer and more specific phrases with lower volume but far less competition and much sharper intent. Someone searching a four-word phrase knows exactly what they want and converts at a higher rate.
In Helium 10, Magnet does this: enter a seed like "protein bar" and it returns thousands of related keywords you can filter by volume and word count. Widen the net for free with Amazon's search autocomplete (start typing and note the suggestions), and mine your product's own language for modifiers: low carb, gluten free, keto, 0g sugar, on-the-go, for adults.
David's Long-Tail Terms
For David, healthy snacks for adults (245,672 searches) is a strong long-tail term: lower volume than protein bars, but far less competition and sharper intent. Its modifiers spin off more, such as low sugar protein bar and keto protein snacks.
Step 4: Validate and Clean the List
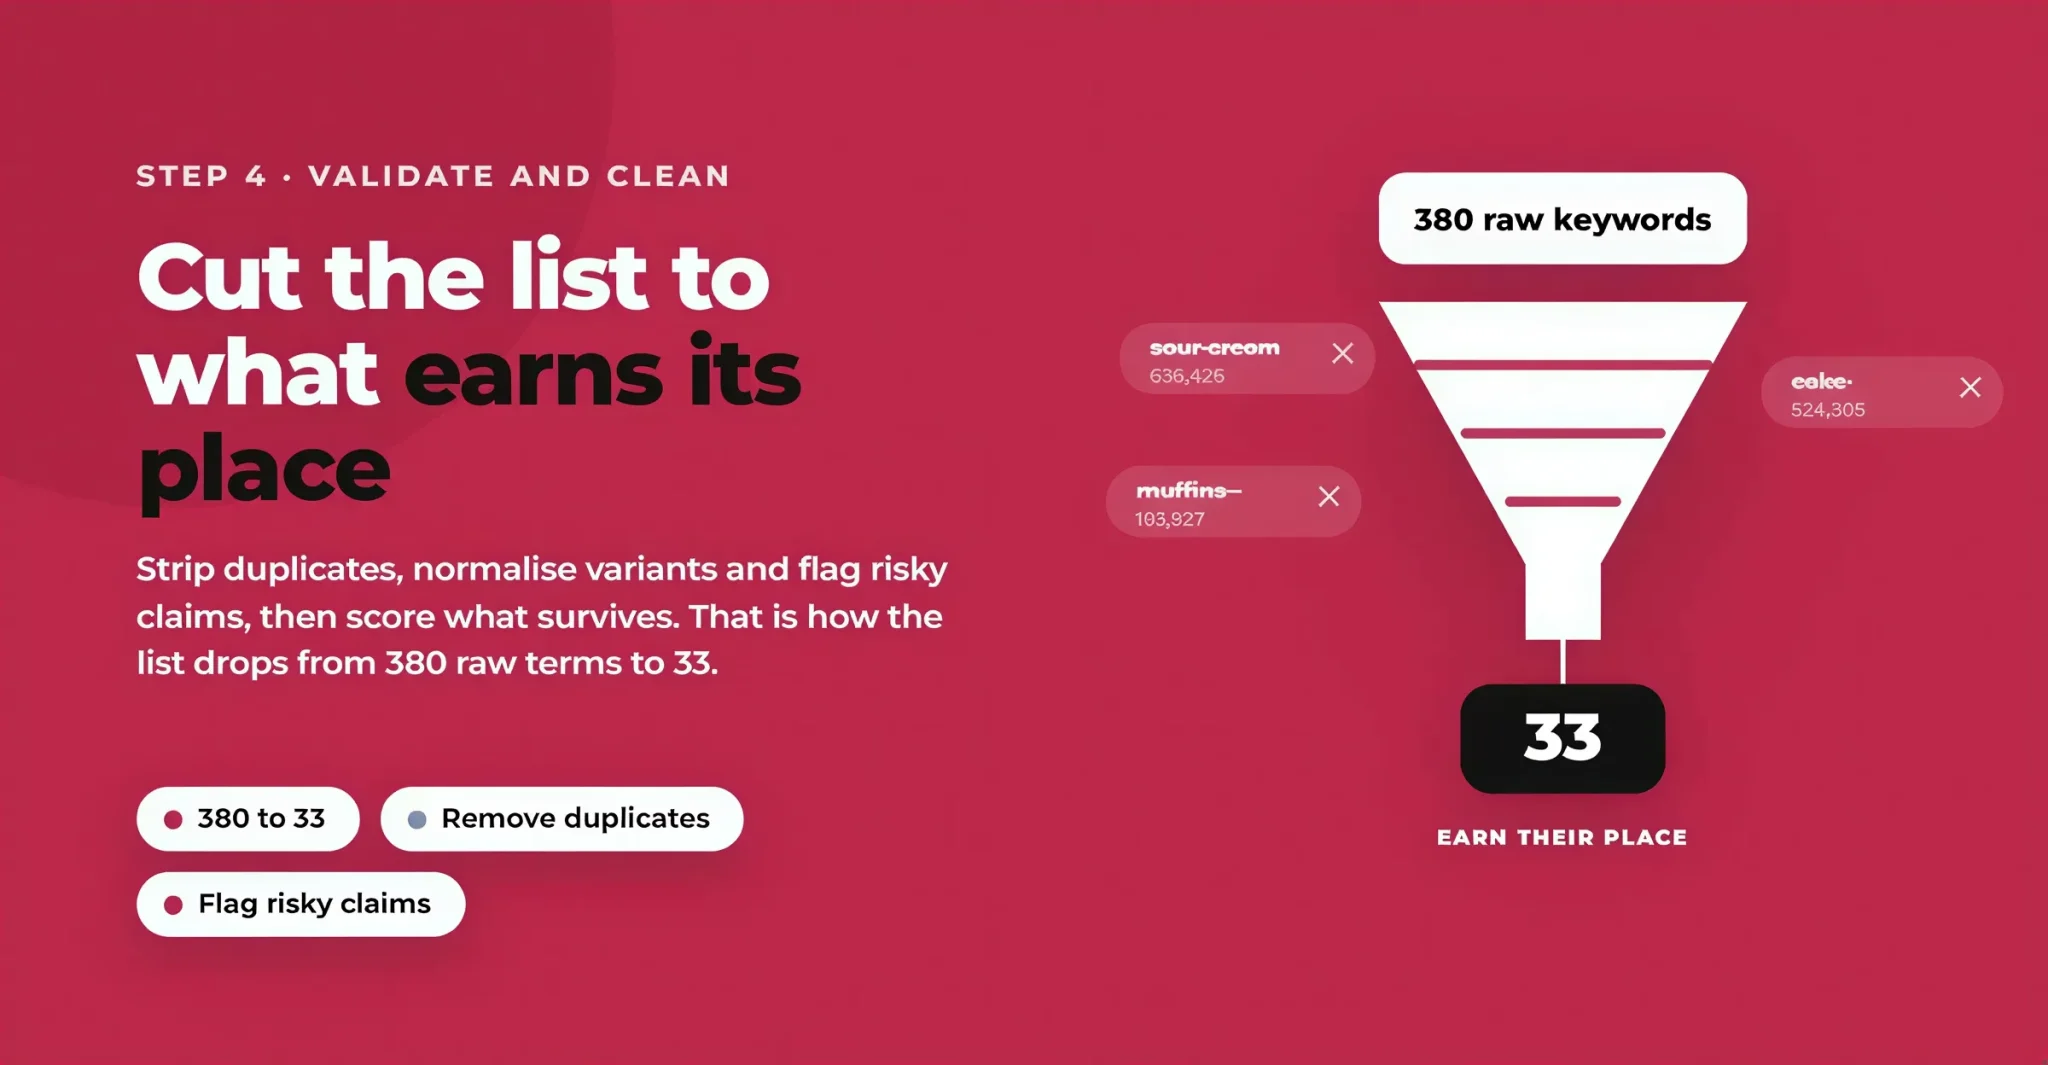
By now you have a big, messy pool. Clean it before you map. First apply hygiene rules: remove duplicates and near-duplicates, normalise singular and plural variants (Amazon reads them loosely, so keep the most natural version), and flag risky terms that imply claims you can't support, such as a medical benefit, a material you don't use or a compatibility you don't offer, because targeting them inflates ACoS and invites negative reviews. Helium 10's Misspellinator catches high-volume misspellings worth keeping, and its Keyword Processor (formerly Frankenstein) strips duplicates and normalises the list so ten overlapping exports collapse into one clean set. Then apply the judgement no tool makes for you, scoring every survivor on relevance, real Amazon search volume, intent and duplication.
Cutting David's List From 380 to 33
Validation is where the big, irrelevant numbers get cut: sour cream (636,426), cake (524,305) and muffins (193,927) all look tempting but have nothing to do with a protein bar. Removing them is what takes David from 380 raw keywords to the 33 that earn their place.
Step 5: Build Your Keyword Map
Cluster by Intent, Not by Words
This is where a list becomes a map, and where most tools fail, because they group by letters rather than meaning. Cluster your clean terms by the buyer's goal: group by use-case, problem, compatibility or material, even when the words look nothing alike. Split browse intent from ready-to-buy intent (protein snacks is browsing; low sugar protein bar for adults is buying). The rule is one cluster per distinct shopping mission: if a shopper searching term A would be unhappy with results for term B, they belong in different clusters.
Score and Prioritise Each Cluster
You can't chase every cluster equally, so rate each on three factors. Relevance strength (one to three): how perfectly your product matches. Conversion likelihood: how ready that searcher is to buy, with specific problem-solving clusters scoring highest. Risk: a penalty for clusters that might attract the wrong audience or confuse the algorithm. The scores tell you which clusters lead your listing and which sit in support.
The Three Keyword Buckets
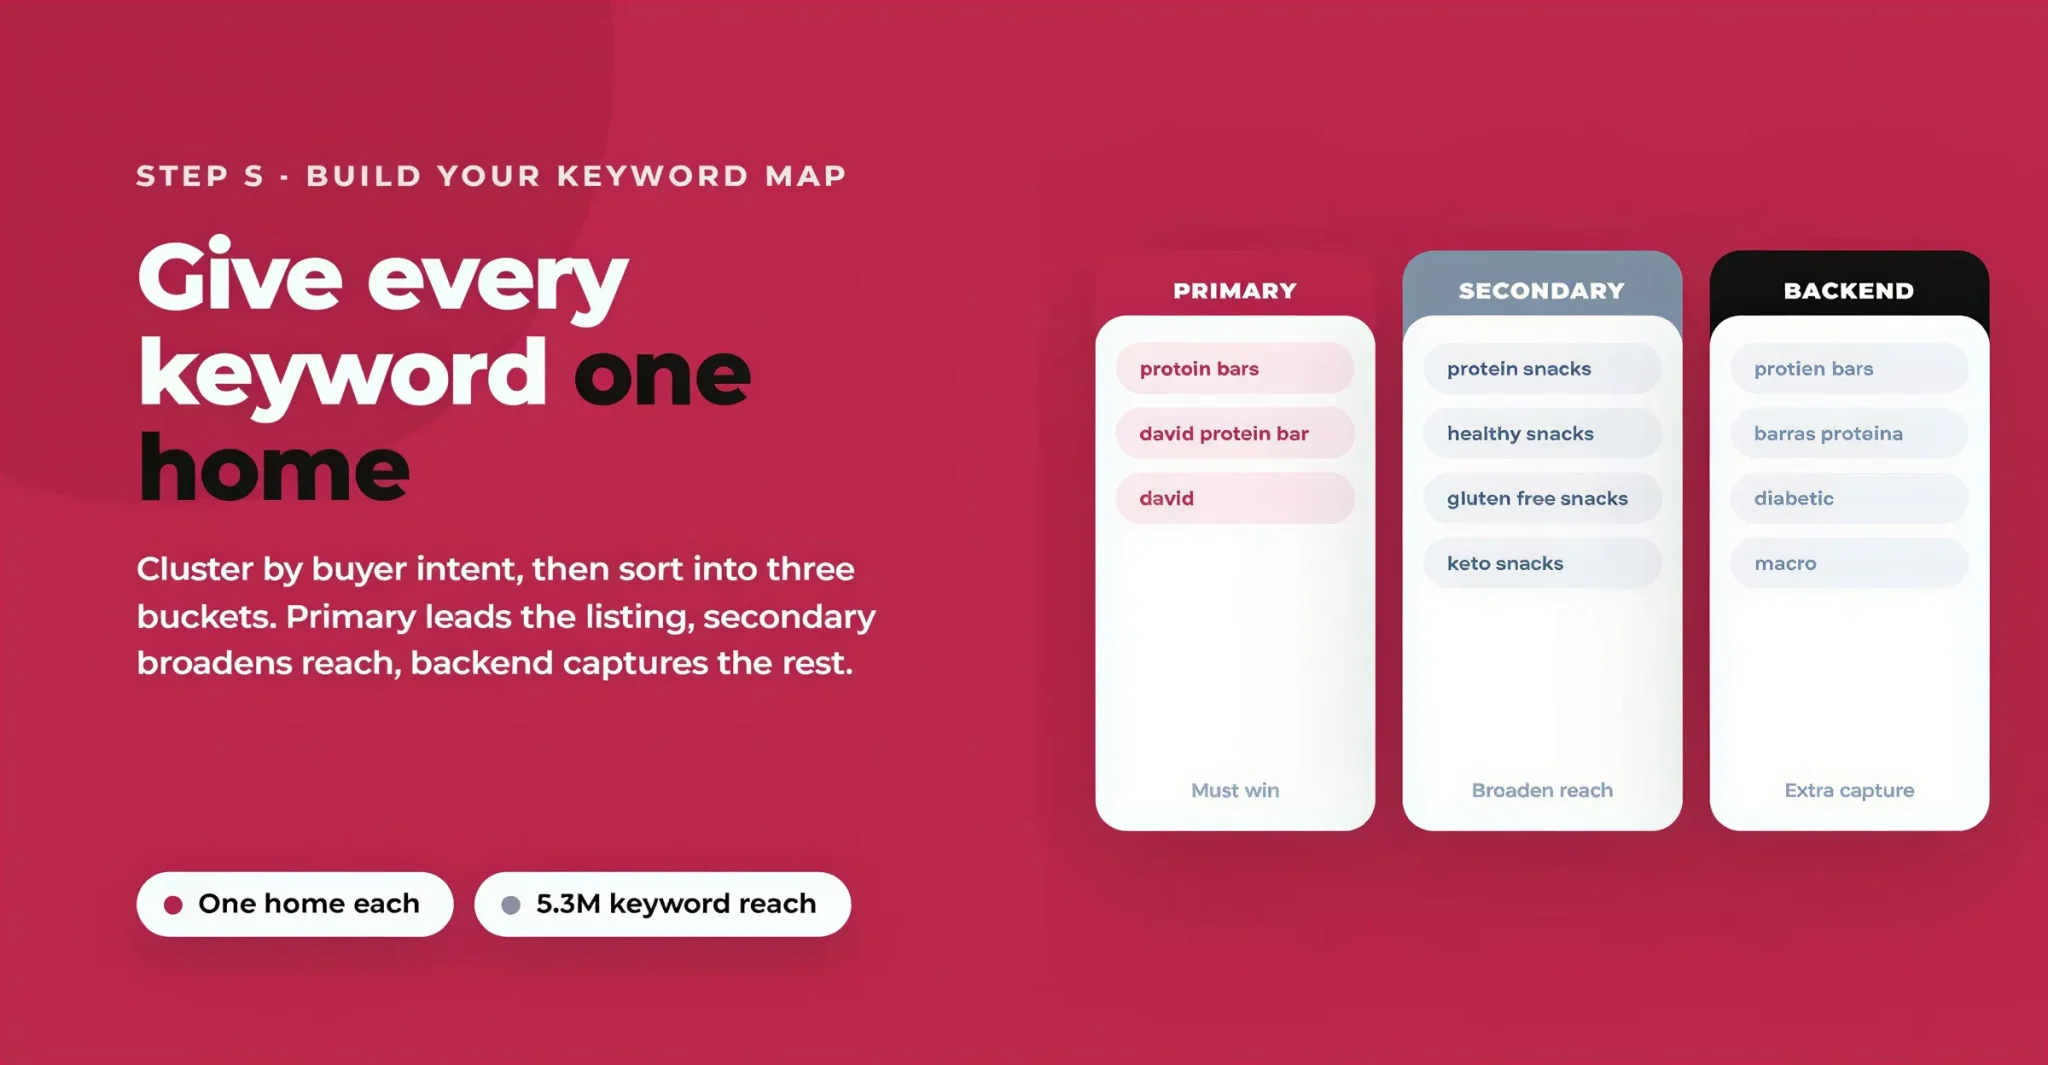
Finally, sort your prioritised clusters into three buckets in Helium 10's Keyword Manager. The rule that governs the whole map: every keyword earns exactly one home, and you only need to index a term once. Your top cluster's head term is primary, your next clusters are secondary, and relevant leftovers, synonyms and variants go to backend.
David's keyword map:
Bucket | David examples | Its job |
|---|---|---|
Primary | protein bars (1,051,176), david protein bar (175,642), david (319,884) | The core searches the listing must win |
Secondary | protein snacks (570,428), healthy snacks for adults (245,672), gluten free snacks (226,116), keto snacks (181,977) | Broaden the searches you rank for and reinforce relevance |
Backend | protien bars (misspelling), barras proteina (Spanish), diabetic, macro, granola | Capture extra searches without cluttering what shoppers read |
The map is also how you measure coverage against rivals. David's mapped keywords give it 5.3M in keyword reach versus 3.4M for IQBAR, 2.5M for Quest and 2.1M for KIND, better coverage than all five competitors. That gap is exactly what a disciplined map buys you. One boundary: deciding a term belongs in the backend bucket is a research decision; how you format that field (the byte limit, what to include) is separate, and we cover it in Amazon backend search terms.
From Map to Listing: What Happens Next
Your keyword map is the brief for the listing, not the listing itself. In short, the primary term anchors your title, secondary terms support the bullets and description, and backend-bucket terms go in the backend field, each keyword placed once. The craft of writing each field is a discipline of its own, so we hand it off: how to write your product title and your bullet points and item highlights. And once the listing is live, you track how the map's terms rank over time, a keyword rank tracking job. Getting the map right is this guide's focus; placement and tracking are the next steps, not this one.
Common Keyword Research Mistakes to Avoid
Chasing volume over relevance is the biggest: David's sour cream at 636,426 searches is a trap, not a target. Borrowing volumes from Google rather than Amazon is another, because the two platforms behave nothing alike. Treating research as a one-off is the quiet killer: search behaviour shifts and competitors move, so refresh your map each quarter and at every launch. And don't confuse a full listing with a well-optimised one: stuffing every field with every keyword dilutes relevance and reads badly to the shopper who decides whether to buy.
The Bottom Line
Amazon keyword research isn't about collecting as many keywords as possible. It's about finding the right ones and giving each a job. Mine your competitors, chase the long tail, validate ruthlessly, and sort what survives into a clean primary, secondary and backend map. Do that, and every decision that follows stops being guesswork.
If you'd rather have that map built by a team that does it every day, Flairox Listings runs automated keyword research and full listing optimisation for Amazon brands, turning a validated keyword strategy into listings that rank and convert. Signup on Flairox Listings to get your listing optimized in 30 seconds now!
Frequently asked questions
It's the process of finding the search terms shoppers use to find products like yours and deciding which are worth targeting, based on relevance, real Amazon search volume and buyer intent. The result is a keyword map that sorts those terms by role so you know what to rank for.